Your old Honeywell thermostat is a workhorse with some nifty features, especially if it's programmable. Here's some help figuring out how to use it.
Honeywell — originally known as Minneapolis-Honeywell — introduced its iconic round thermostat, known as “The Round,” in 1953. It’s as old a Honeywell thermostat as you’re likely to come across, although it isn’t the first the company manufactured. That distinction goes to “The Jewell,” a clunky round model released in 1906 that was — amazingly — programmable!
Honeywell still makes The Round, along with other square and rectangular mechanical models. But the bulk of Honeywell’s current offerings are now digital.
If you’re having trouble getting an old Honeywell thermostat to work, it’s probably a digital one. It might even be programmable, because digital non-programmable thermostats are almost as easy to use as mechanical ones.
How do you know if your Honeywell thermostat is programmable? You can tell at a glance. If there’s a Prog, Set or Menu button on the front, it’s programmable.
Of course, cutting-edge smart thermostats are programmable and don’t have these buttons. But it’s difficult to mistake a smart thermostat for an older model, except for one: The Round Smart Thermostat. It looks almost the same as its mechanical counterpart. Even though it’s been discontinued, there are still plenty out there.
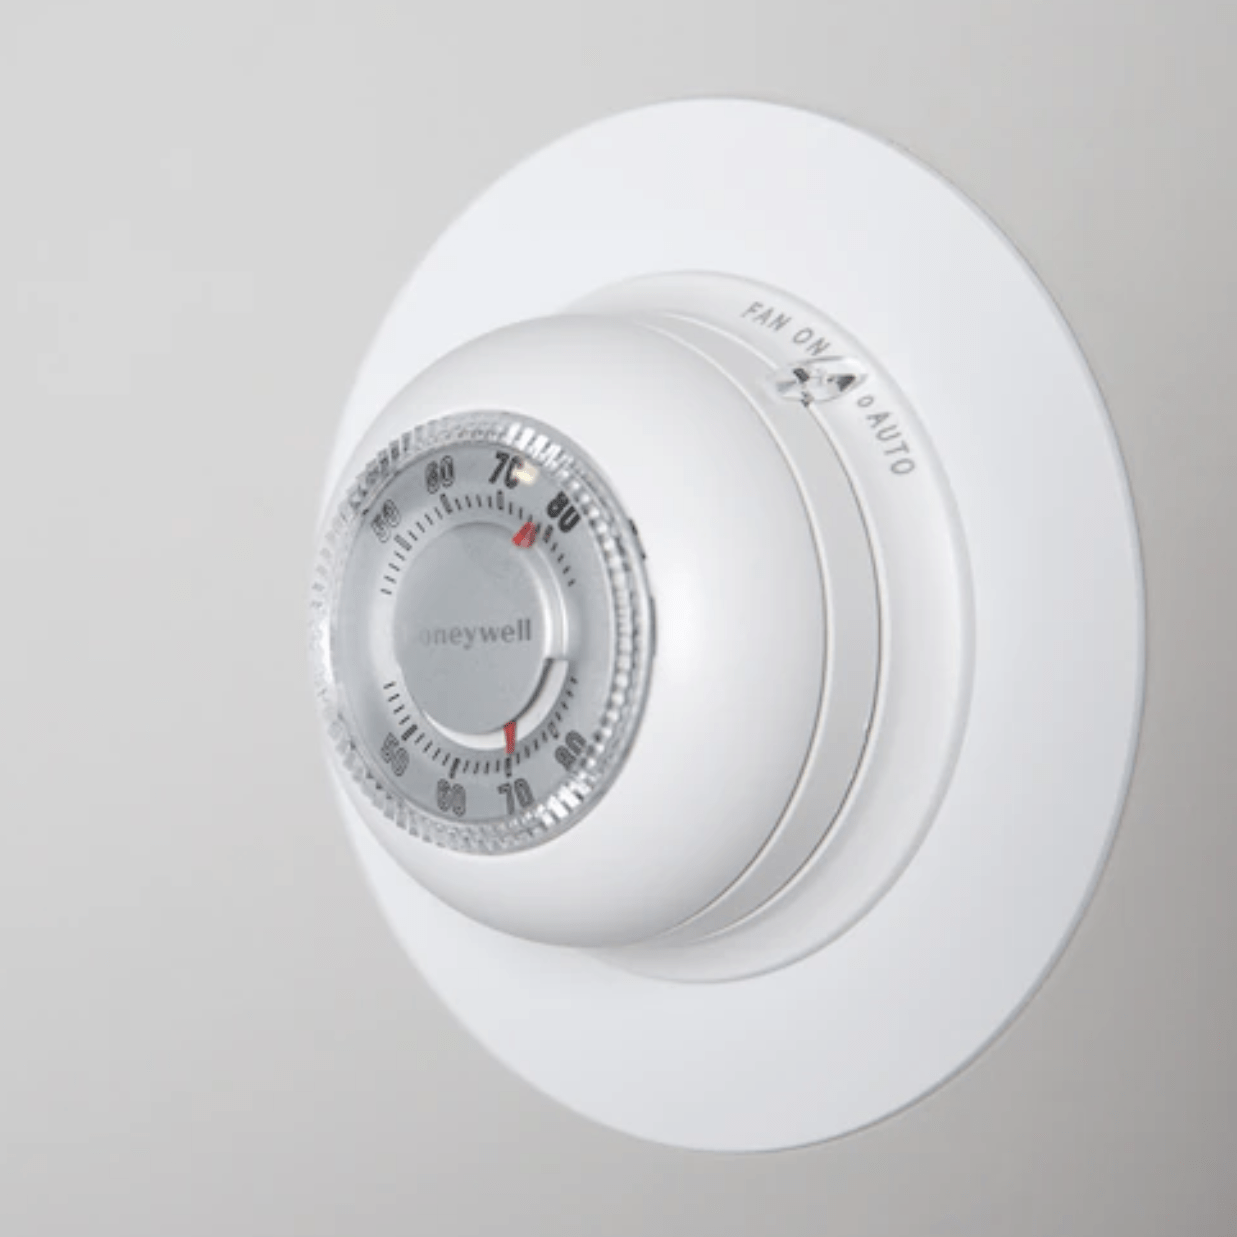
You won’t find any Honeywell-made thermostats manufactured before 1953 in a modern home. The Round and heat-only mechanical thermostats like it are simple in concept: You set the dial or lever to the desired temperature, and the thermostat does the rest.
Mechanical thermostats can also control a cooling system and fan. Those that do come with levers for toggling between heating and cooling, and turning the fan on and off.
Honeywell introduced digital thermostats in the 1980s. The first ones were non-programmable and worked in essentially the same way as mechanical ones.
The addition of programmable functions was inevitable, and many older programmable models are still in use today. Specific features may vary from model to model, but basic functions like programming room temperatures for specific times of the day are similar.
There are three types of old Honeywell thermostats: mechanical, digital non-programmable and digital programmable. Wi-Fi enabled and smart thermostats are more recent developments so we won’t cover those, but that still leaves too many models to list here.
Here’s a representative from each category:
If the thermostat is programmable, you must set the time before engaging the programming features. After that, use the Set, Prog or Menu button to advance through programming options for different times of the day and select the ones you want.
This depends on the model, but as an example, here’s how you do it with the RTH221B. If you have a different model, consult your product manual or look online.
To set the time:
To program a schedule, move the mode toggle to Heat or Cool as necessary, then do the following:
There’s a procedure to unlock a programmable thermostat and restore factory settings using the buttons or touch screen. This varies by model, so it’s best to consult the product manual.
However, if the thermostat has batteries, there’s an easier way to restore its original settings. Take out the batteries, reverse the polarity and reinsert them. Leave them for 10 seconds, then remove them and put them back in the correct orientation.
You can replace an old thermostat with virtually any modern one— with one exception.
If the old thermostat was mechanical or had batteries, it didn’t need a common wire. Usually blue, it supplies power to the thermostat itself. If your new thermostat needs a common wire, you’ll need an HVAC pro to install it. Otherwise, choose a battery-powered model.
To do the replacement, this simple procedure usually works.
Originally Published: January 04, 2023